Guide
Cloud Engineering
Deploying an Astro Site to Cloudflare Workers
Ship a static Astro build to Cloudflare's edge with Workers static assets: wrangler config, GitHub CI, per-branch preview URLs, and an honest look at the limits.
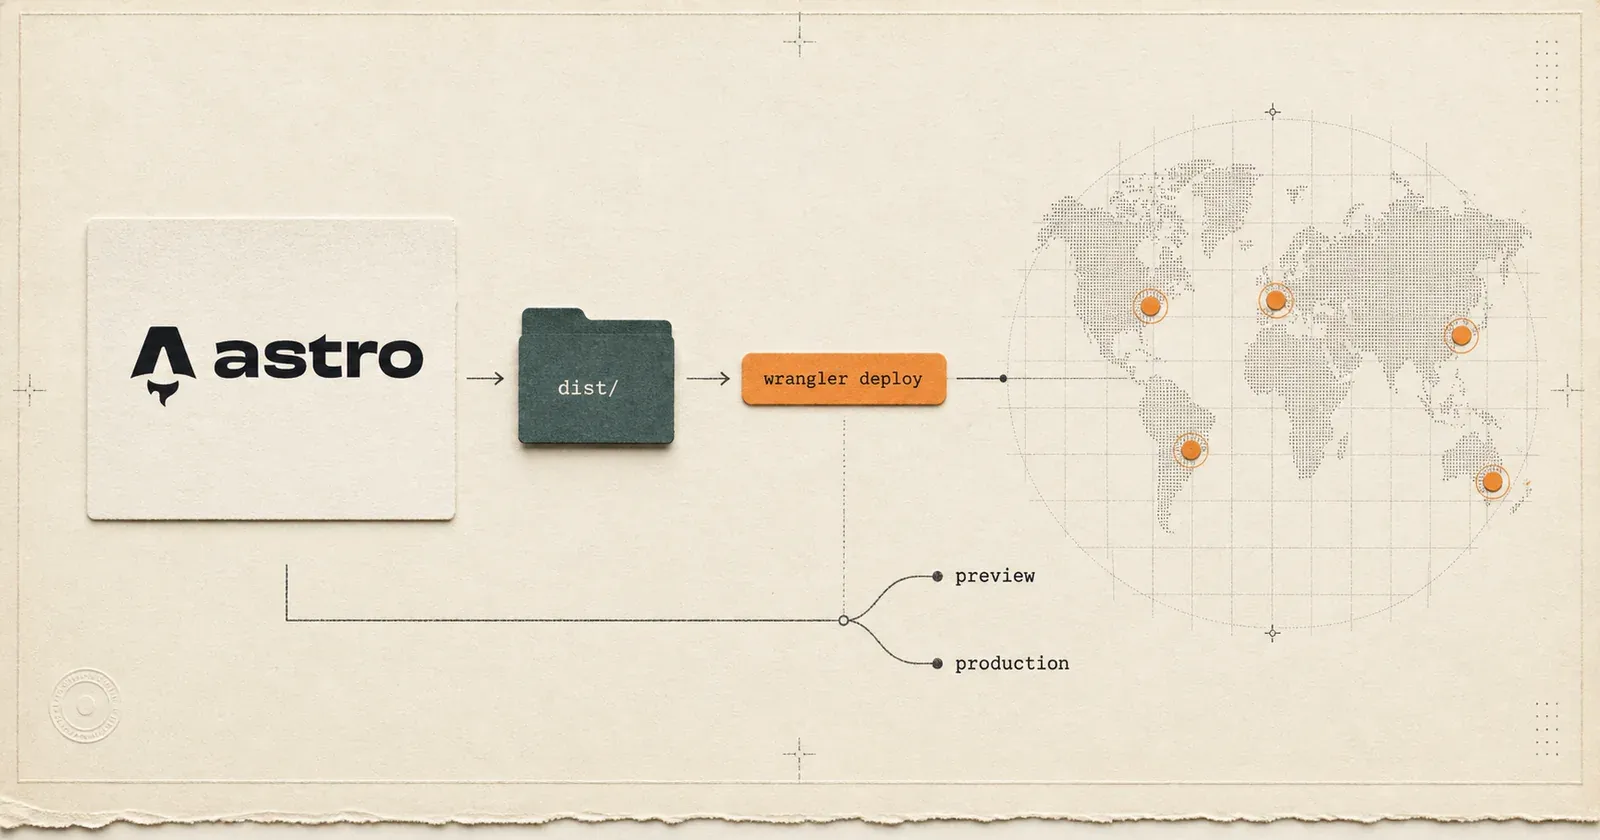
A statically built Astro site is a directory of HTML, CSS, and JavaScript — nothing that needs a server running to render it. Cloudflare Workers can serve exactly that directory from data centers around the world, so the first byte reaches a reader in Lisbon as fast as one in São Paulo. This guide takes a finished build to a live URL, sets up continuous deployment from GitHub, and is honest about where the platform’s limits will bite.
What you should already have
This guide assumes a working Astro project that builds to static output — the default. Running astro build produces a dist/ directory, and opening dist/index.html locally shows your site. You will also need a Cloudflare account (the free plan is enough to follow along) and the wrangler CLI, which ships as an npm dev dependency. If your site uses on-demand rendering with an adapter, the deploy story is different; this guide is specifically about the static case, which is what most content sites want.
Step 1 — Describe the deployment
Cloudflare reads a single file, wrangler.toml, to know what to deploy. For a static site the whole configuration is a name, a compatibility date, and a pointer at your build output.
name = "bitkode-site"compatibility_date = "2025-01-01"
[assets]directory = "./dist"not_found_handling = "404-page"The [assets] block is what turns a Worker into a static host. directory points at Astro’s build output. not_found_handling tells the edge what to do when a path matches no file: "404-page" serves your dist/404.html, which Astro generates automatically. There is no server code here at all — Workers static assets serves the files directly, and you are billed for requests, not compute.
Step 2 — Deploy by hand once
Before automating anything, prove the path works from your own machine. Build, then deploy:
npx astro buildnpx wrangler deployThe first wrangler deploy prompts you to authenticate in the browser, then uploads dist/ and prints a live *.workers.dev URL. Open it. If your homepage renders and internal links resolve, the configuration is correct and everything after this is about doing it automatically.
Step 3 — Deploy from GitHub on every push
Manual deploys are fine for a first look and wrong for a real project — you want main to publish itself. The cleanest way is a small GitHub Actions workflow that builds and calls wrangler deploy for you.
name: Deployon: push: branches: [main]
jobs: deploy: runs-on: ubuntu-latest steps: - uses: actions/checkout@v4 - uses: actions/setup-node@v4 with: node-version: 20 - run: npm ci - run: npm run build - uses: cloudflare/wrangler-action@v3 with: apiToken: ${{ secrets.CLOUDFLARE_API_TOKEN }} accountId: ${{ secrets.CLOUDFLARE_ACCOUNT_ID }}The highlighted step is the deploy. wrangler-action reads the same wrangler.toml you tested locally, so CI does exactly what your hand-run did — no surprises. Create the two secrets in your repository settings: a scoped API token with the “Edit Workers” permission, and your account ID from the Cloudflare dashboard. Never commit either.
Step 4 — Preview deployments before merging
Publishing main automatically is only half of a good workflow; you also want to see a branch before it merges. Cloudflare’s Git integration (“Workers Builds”) connects the repository directly and gives every non-production branch its own preview URL, built on push. Alternatively, keeping the GitHub Actions approach, you can upload a versioned preview without promoting it to production:
npx wrangler versions uploadThis returns a stable preview URL for that exact version, which is ideal to drop into a pull request for review. Either way, the goal is the same: no change reaches the production URL without a human having looked at it somewhere first.
Step 5 — Point a custom domain at it
The *.workers.dev URL is fine for testing and wrong for anything you want people to trust. If your domain’s DNS is on Cloudflare, add a custom domain to the Worker from its dashboard settings — Cloudflare provisions the TLS certificate and routes the domain to your Worker automatically, usually within a minute. No DNS records to hand-edit, no certificate to renew.
Trade-offs worth knowing
Edge static hosting is close to ideal for content sites, but it is a specific set of choices, not a free lunch. You give up a traditional origin server, so anything genuinely dynamic must move to a separate Worker, a serverless function, or a client-side call — the static host will not run it. You inherit the platform’s limits above, which reward small, well-compressed builds and punish sprawling ones. And you couple your delivery to one vendor’s edge; the build output is portable, but the wrangler.toml, the preview flow, and the domain wiring are Cloudflare-specific. For an Astro content site, those are easy trades to accept — global low latency and request-priced billing in exchange for staying inside the static model.
Key takeaways
- A static Astro build is just a directory; Workers static assets serves it from the edge, billed per request, not per compute-second.
- The entire deploy config is an
[assets]block inwrangler.tomlpointing atdist/— no server code. - Automate with a small GitHub Actions workflow that runs
wrangler deploy; keep the API token and account ID in repository secrets. - Use per-branch preview URLs (Workers Builds or
wrangler versions upload) so nothing reaches production unreviewed. - Watch the file-count and asset-size limits — they reward small, compressed builds and will fail a deploy that outgrows them.
Deploy main, hand every branch a preview, and put a real domain on top. From there the site is just files at the edge — which is exactly what a content site wants to be.
// continue exploring