Guide
AI Engineering
Building Your First MCP Server
A practical, reproducible walkthrough: build a minimal Model Context Protocol server in TypeScript, expose a tool an AI client can call, and verify it end to end.
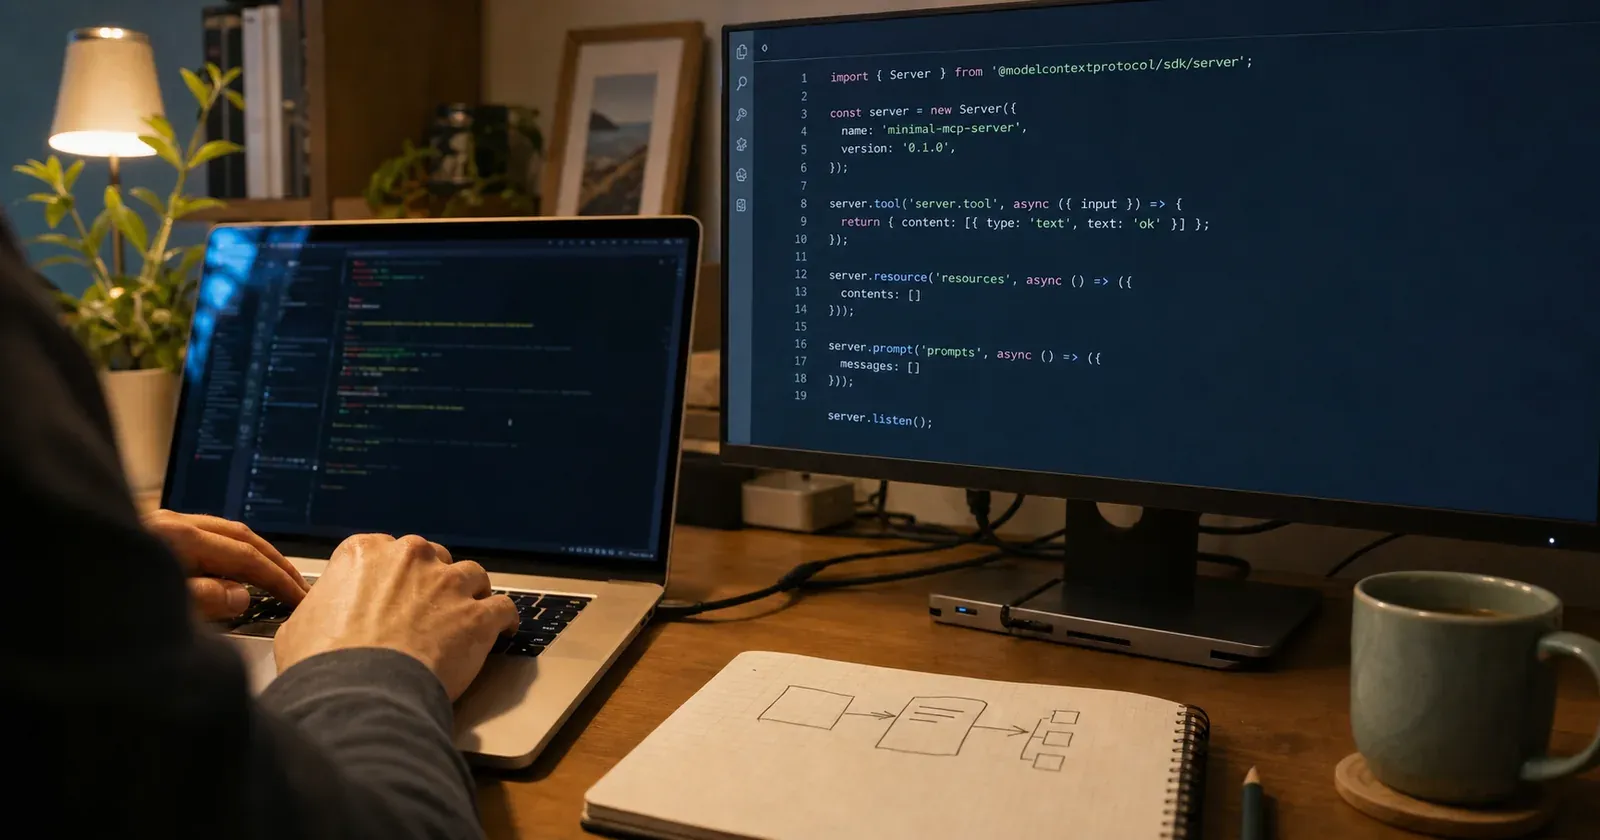
Every AI client that can call tools — a desktop assistant, an IDE, an agent framework — needs a way to reach your data and your actions. The naive path is a bespoke integration per client: one plugin format here, one function-calling schema there, each re-implemented when the next client appears. The Model Context Protocol replaces that with a single contract, and building a server for it takes an afternoon. This guide walks through the smallest server worth running, then verifies it against a real client.
Definition
- Model Context Protocol (MCP)
An open protocol that standardizes how applications expose tools, resources, and prompts to language models. A server describes what it can do in a typed, discoverable way; any compliant client can connect, list those capabilities, and invoke them — without either side knowing the other’s internals. The transport is JSON-RPC over stdio or HTTP.
The important shift is that you write the capability once. The same server you connect to a desktop client today works unchanged inside an agent runtime tomorrow, because the client only ever sees the protocol — never your code.
Prerequisites
This guide assumes you already work comfortably with TypeScript and Node. Specifically you will need:
- Node.js 18 or newer and a package manager (
npm,pnpm, oryarn). - Familiarity with
async/awaitand ES modules. - An MCP client to test against. The official MCP Inspector runs from
npxwith nothing to install, and a desktop assistant works as a real-world target.
No prior MCP experience is required. If you have written a function-calling schema for an LLM before, the mental model will feel familiar — MCP is that idea, formalized and made portable.
Step 1 — Set up the project
Create a directory, initialize it, and declare two dependencies: the MCP SDK and Zod, which the SDK uses to describe and validate tool inputs.
{ "name": "weather-mcp", "type": "module", "bin": { "weather-mcp": "build/server.js" }, "dependencies": { "@modelcontextprotocol/sdk": "^1.0.0", "zod": "^3.23.8" }, "devDependencies": { "typescript": "^5.5.0", "@types/node": "^22.0.0" }}The "type": "module" line matters: the SDK ships as ES modules, so your project must be one too. Run your install command, then add a minimal tsconfig.json targeting ES2022 with "module": "NodeNext" and an outDir of build.
Step 2 — Write the server
A server does three things: it announces who it is, it registers capabilities, and it connects to a transport. Here is all three, complete and runnable.
import { McpServer } from "@modelcontextprotocol/sdk/server/mcp.js";import { StdioServerTransport } from "@modelcontextprotocol/sdk/server/stdio.js";import { z } from "zod";
const server = new McpServer({ name: "weather", version: "1.0.0",});
// The Zod schema is the contract. The client sees the parameter// names and types, and the SDK validates every call before your// handler ever runs — so the handler only deals with valid input.server.tool( "get_forecast", { city: z.string().describe('City name, e.g. "Lisbon"') }, async ({ city }) => { const tempC = 18 + (city.length % 10); // stand-in for a real API call return { content: [{ type: "text", text: `${city}: ${tempC}°C, clear skies.` }], }; },);
const transport = new StdioServerTransport();await server.connect(transport);The highlighted block is the whole point of the server. server.tool takes a name, a schema, and a handler. The name and schema are metadata the client can discover; the handler is your logic. The return shape — a content array of typed parts — is how every tool answers, whether it returns text, an image, or structured data.
The last two lines wire the server to stdio: it reads JSON-RPC requests from standard input and writes responses to standard output. That choice has one consequence worth stating loudly.
Step 3 — Verify it end to end
Compile the TypeScript, then point the MCP Inspector at the compiled entrypoint. The Inspector is a small client that lets you list and invoke tools by hand — the fastest way to confirm the server actually speaks the protocol.
npx tscnpx @modelcontextprotocol/inspector node build/server.jsThe Inspector opens a local UI. Under Tools, you should see get_forecast with its city parameter. Call it with a city name and confirm the text response comes back. If the tool appears and answers, your server is correct — a client discovered its capability and invoked it, which is the entire contract.
Once the Inspector is happy, connecting a real assistant is just configuration. A desktop client reads a JSON file listing the servers to launch:
{ "mcpServers": { "weather": { "command": "node", "args": ["/absolute/path/to/build/server.js"] } }}Use an absolute path — the client launches the process from its own working directory, not yours. Restart the client and the get_forecast tool becomes available in conversation.
Trade-offs and what to reach for next
The stdio transport used here is ideal for local, single-user tools: the client owns the process lifecycle and there is no network surface to secure. When you need a server that many clients reach over a network, switch to the streamable HTTP transport instead — the capability code is identical; only the transport at the bottom of the file changes. Do not reach for HTTP until you actually have a remote consumer; the local process model is simpler and safer by default.
From here, the natural next steps are the two capabilities we skipped. Resources expose read-only data (files, records, documents) that a client can pull into context. Prompts expose reusable prompt templates the user can invoke by name. Both register with the same shape you already used for the tool, so adding them is more of the same rather than something new.
Repositorybitkode/mcp-first-serverThe complete weather server from this guide — the typed tool, both transports, and the Inspector config — ready to clone and run end to end.Key takeaways
- MCP lets you describe a capability once and have any compliant client discover and call it — no per-client integration.
- A minimal server is three moves: name yourself, register a tool with a typed schema, connect a transport.
- The Zod schema is the contract — the client reads it, and the SDK validates every call so your handler only sees valid input.
- On stdio, stdout is the protocol wire; log to stderr, and use an absolute path when a client launches your server.
- Move to the HTTP transport only when you have a genuine remote consumer; keep local tools on stdio.
You now have a server that a real AI client can find, understand, and use. Everything larger — databases, internal APIs, whole agent toolkits — is the same three moves repeated, one tool at a time.
// continue exploring